


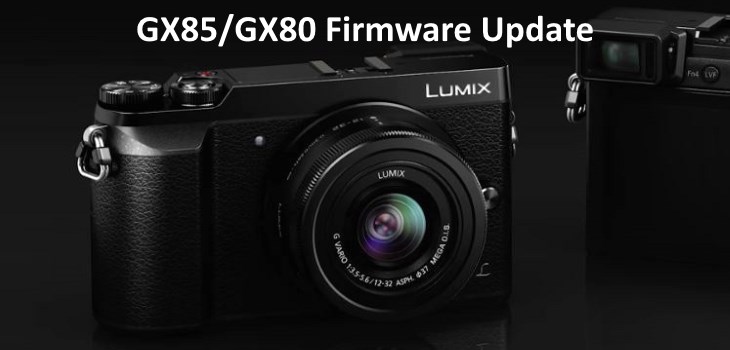
If you just got a new Panasonic GX85/GX80/ camera it likely still has the first version of the firmware on board. Follow these step below to update your GX85 firmware to the latest version to get new functions.
The new firmware update given is version 1.1. This adds a Focus Stacking function. This new mode gives users the ability to take multiple images of the same frame with different areas of focus. More improvements that are included is a Focus Bracket menu with a Sequence Function that allows users to set the bracket images to be shot farther and closer from the focus point. Also, flash mode can be set to forced-off when using a built-in flash.
Your download can be found here.
You will need to read the page and then agree at the bottom to download your firmware update.
Digital Still Camera Firmware Update Guide.
Remember, to check for any incompatibilities before updating and do at your own risk.
1) Preparation before attempting the update.
A. Make sure the camera’s battery is completely charged. If the battery is not completely charged the firmware update will not begin. Format the SD memory card in the camera, then take a couple of pictures.
B. Turn off the camera.
2) Copying the Firmware to your memory card.
A. Download the latest firmware update for your model by clicking on the “Download Ver. X.X ” link to a location on your computer (we recommend the “Desktop”).
B. If your computer has a media reader, please insert your formatted SD Card from your camera.
C. Open the zipped firmware file that you downloaded to the desktop.
D. For “PC” users, locate your SD Card by clicking on, or opening the “My Computer” or “Computer” on your desktop or your “Start” menu. For “Mac” users, can use “Finder” if the drive does not mount to your desktop.
E. “Drag” to Copy and Paste” the .bin file from the opened folder to the drive with the SD Card showing in your “My Computer” window for “PC” users and “Finder” or “Drive” in Macs. This will copy the file to the card.
F. If you choose to leave the SD Card in your camera, connect the camera to the PC with the USB cable. Turn the camera on and set it to “Playback” mode. Then select “PC” on the LCD screen. Drag the .bin file from the opened folder to the device that either says Panasonic or mass storage to complete the transfer.
G. “SDXC cards, 32GB or larger, require special card readers. Depending on your PC, and the age of its operating system, you may not be able to directly write to such large cards. If your PC asks you to format the card, DO NOT, this is one indication that your system is not compatible with the newer larger memory cards. In this case a smaller card, 16GB or smaller should be used.
3) Updating the Camera’s firmware.
A. Turn the Camera off, insert the SD Card if you copied the firmware to the card while inserted into the computer.
B. Turn the Camera power on and press the “Playback” button. The Camera’s LCD screen should now be showing a screen asking if you desire to “Update” the firmware. Highlight “Yes” and press the “Menu/Set” button.
C. When the Camera has completed the firmware update it will turn itself off and then back on.
D. This completes the update process.
4) Confirming the update.
A. Turn the Camera’s power back on.
B. Set to “Playback” Mode.
C. Choose the “Setup” menu.
D. Select Version Disp.
I hope this helps you all out getting updated.